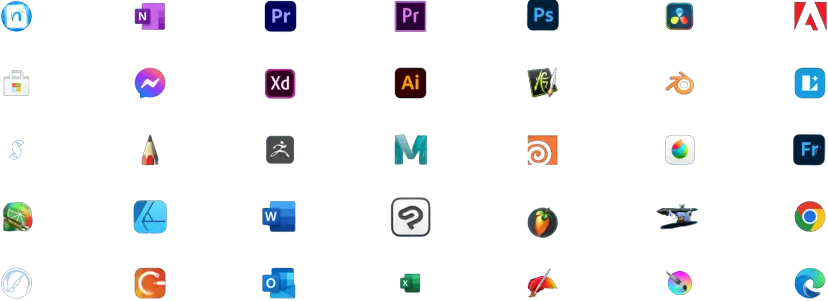
Works system-wide with the apps you already use, no plugins, no hacks.
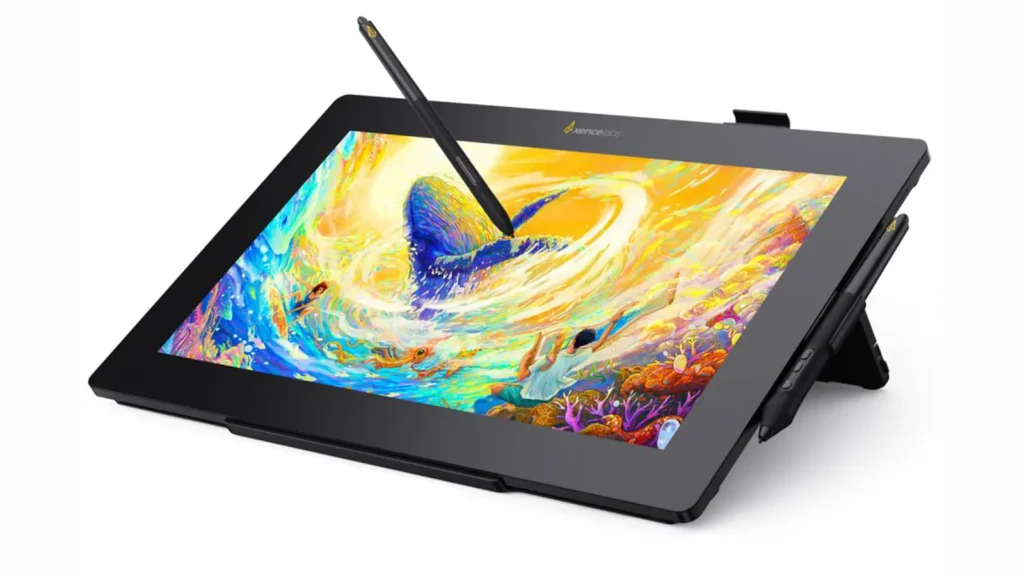
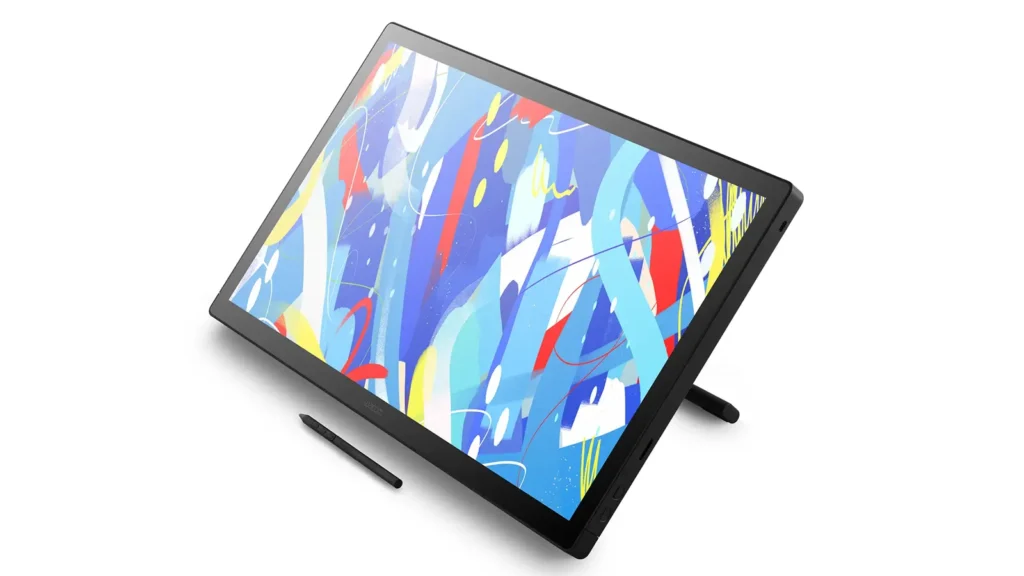
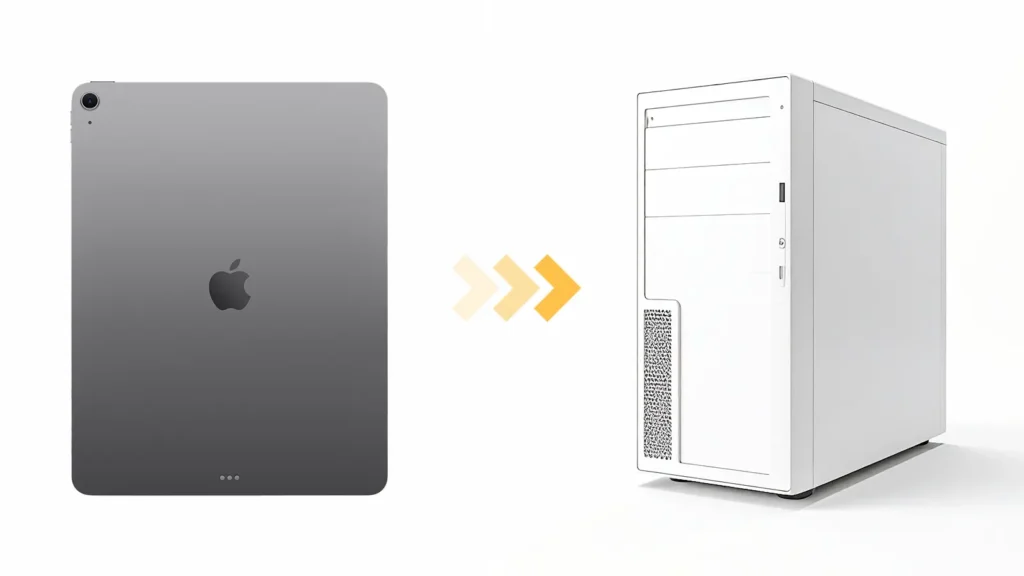
Tablet Pro exists to remove that friction and help the screen become your workspace, not just your display.
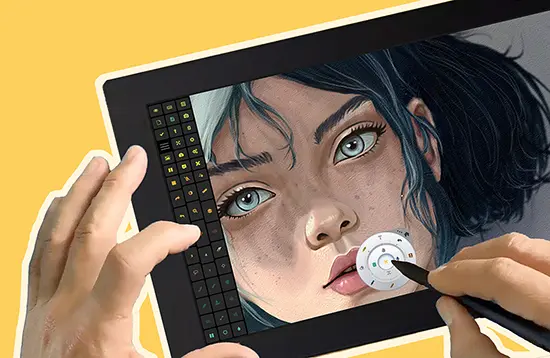
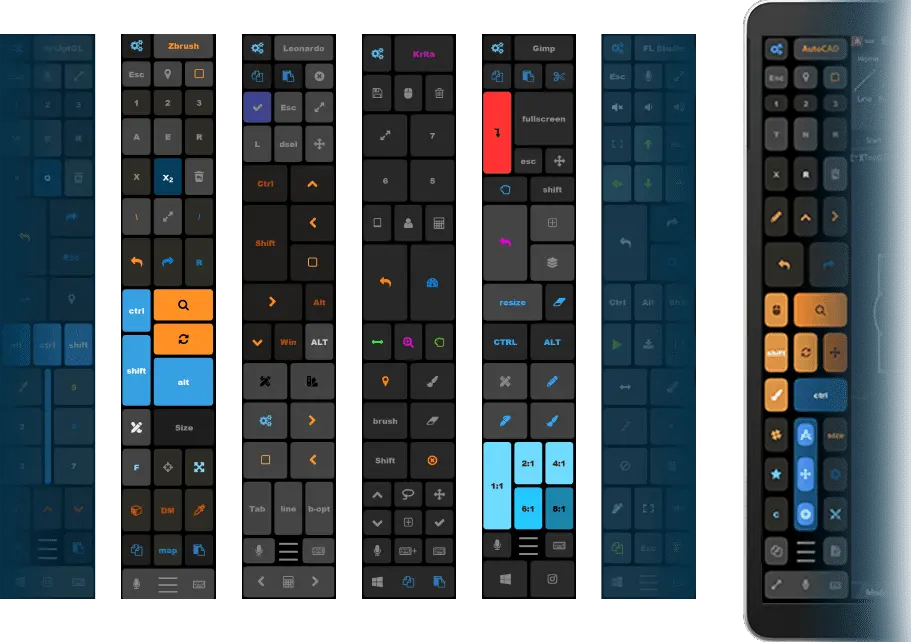
Put shortcuts, navigation, and common commands around your canvas.
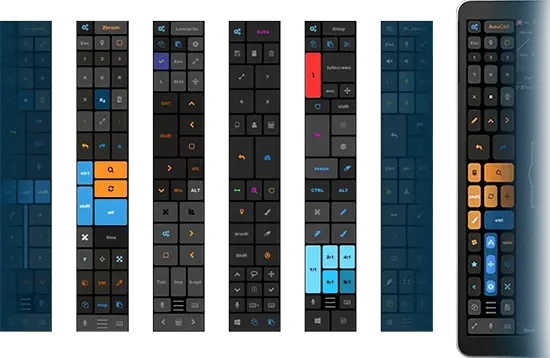
Use premade presets and app-specific profiles to match different creative tools and workflows.
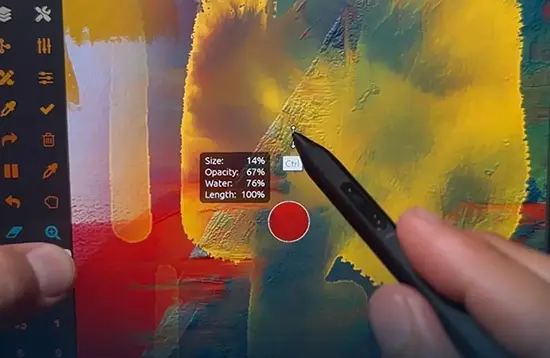
Combine touch panels, stylus remapping, radial menus, voice commands, and zoom into a setup that feels natural to you.
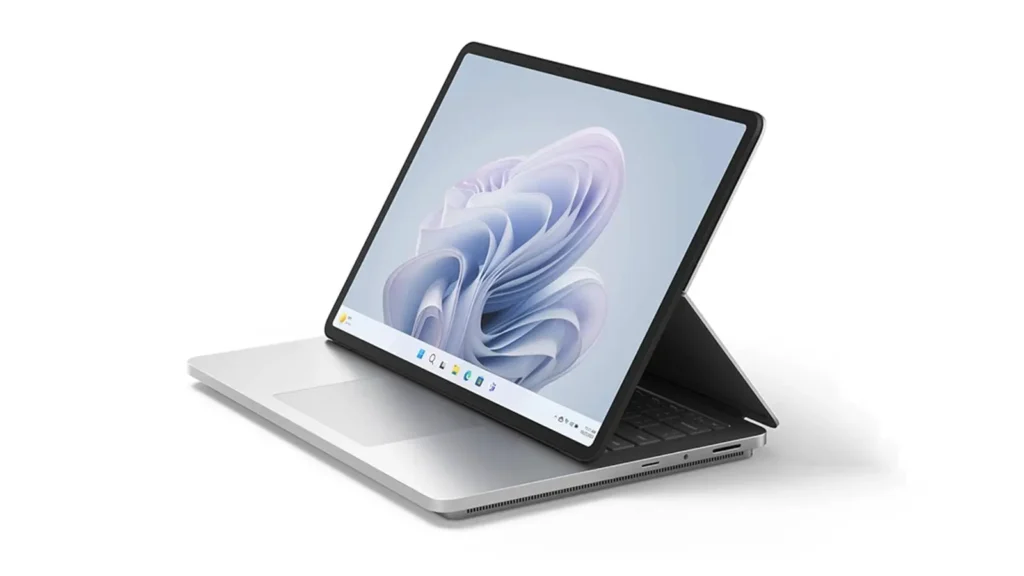
Built for anyone who wants a more natural Windows tablet workflow


Tablet Pro lets you build your own artist-friendly interface with on-screen buttons, radial menus, pen actions, and voice triggers designed for desktop apps.